
Add the SDK to the frontend and initialize the checkout
Client-Side
Once you have configured your backend and created the Order, you need to configure the frontend to complete the payment experience on the client-side. For this, you can use the MercadoPago.js SDK, which allows you to render the Mercado Pago payment button and redirect the buyer to the init_point obtained from the Order creation response.
In this section, you will learn how to include and initialize it correctly, to finally render the Mercado Pago payment button.
Include the SDK with HTML/js
To include the MercadoPago.js SDK in your HTML page from a CDN (Content Delivery Network), you first need to add the <script> tag just before the </body> tag in your main HTML file, as shown in the following example.
html
<!DOCTYPE html> <html> <head> <title>My integration with Checkout Pro</title> </head> <body> <!-- Your page content --> <script src="https://sdk.mercadopago.com/js/v2"></script> <script> // Your JavaScript code will go here </script> </body> </html>
Initialize the checkout from the Order
After including the SDK in your frontend, it's time to initialize it and then start the checkout using the init_point obtained from the Order creation response.
To continue, use your test Public Key credential.
You will also need to use the init_point that you obtained as a response when creating the Order.
Next, to initialize the SDK using a CDN, you should execute this code within the <script> tag, replacing the value YOUR_PUBLIC_KEY with your key and YOUR_INIT_POINT with the init_point obtained from the Order response.
Javascript
<script src="https://sdk.mercadopago.com/js/v2"></script> <script> // Configure your Mercado Pago public key const publicKey = "YOUR_PUBLIC_KEY"; // The init_point obtained from the Order creation response const initPoint = "YOUR_INIT_POINT"; // Initialize the Mercado Pago SDK const mp = new MercadoPago(publicKey); // Create the payment button const bricksBuilder = mp.bricks(); const renderWalletBrick = async (bricksBuilder) => { await bricksBuilder.create("wallet", "walletBrick_container", { initialization: { redirectMode: "self" }, callbacks: { onSubmit: () => { // Redirect the buyer to the Order's init_point window.location.href = initPoint; } } }); }; renderWalletBrick(bricksBuilder); </script>
Create an HTML container for the payment button
Client-Side
Finally, you will need to create a container in your HTML to define the location where the MercadoPago payment button will be displayed. The creation of the container is done by inserting an element in the HTML code of the page where the component will be rendered.
html
<!-- Container for the payment button --> <div id="walletBrick_container"></div>
Render the payment button
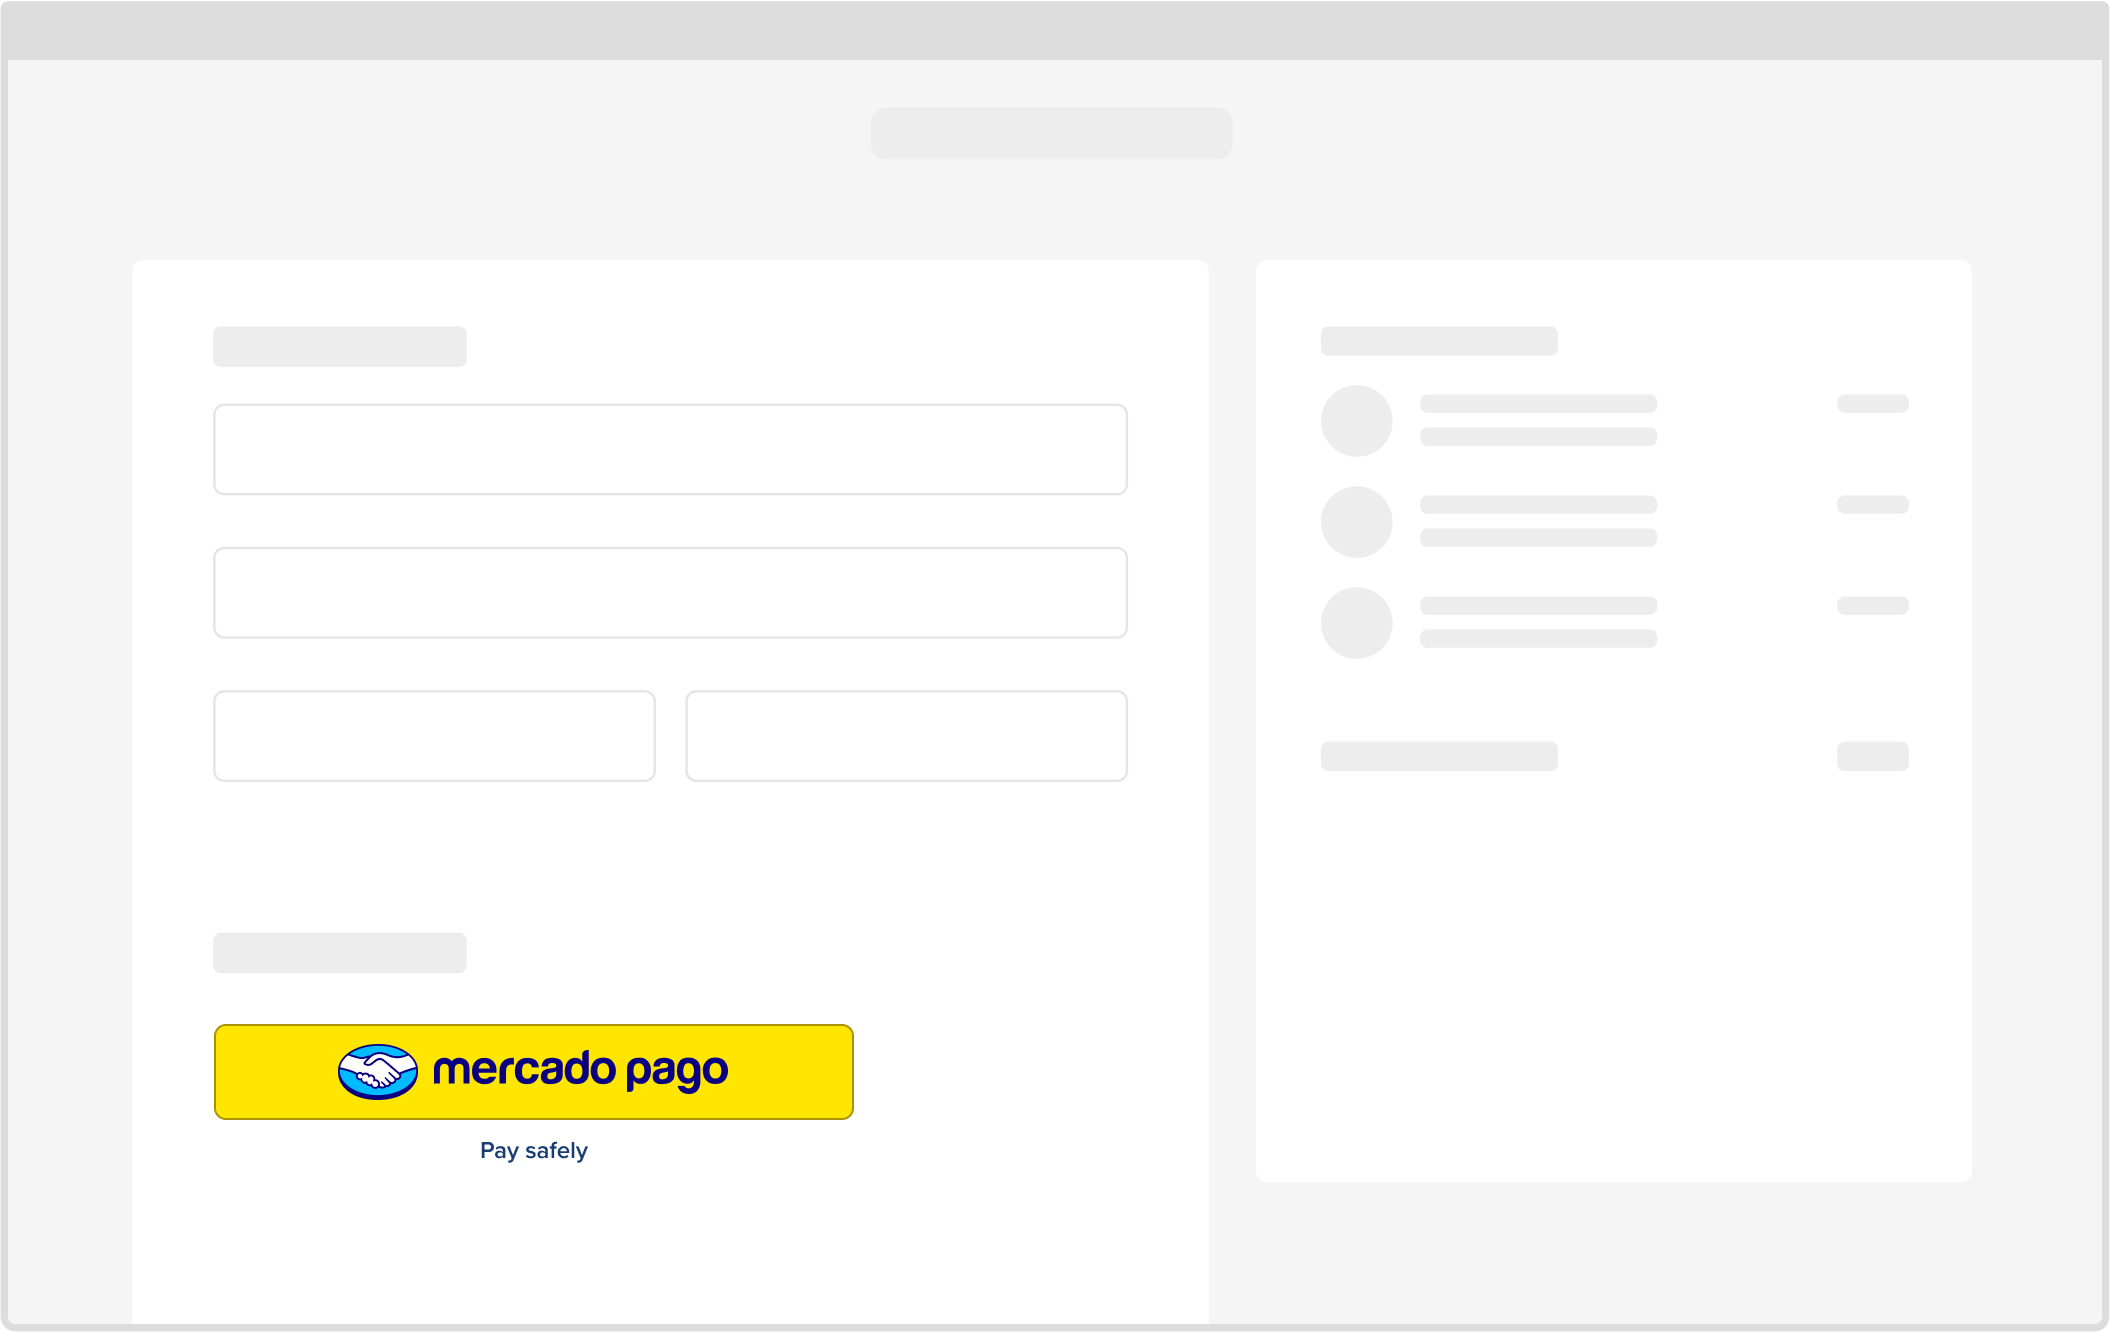
The Mercado Pago SDK will automatically render a button within this element. When clicked, the buyer will be redirected to the Order's init_point, where they can complete the payment in the secure Mercado Pago environment, as shown in the following image.
Once you have completed the configuration of your frontend, you will need to set up Notifications so that your integration receives real-time information about the events that occur in your integration.